Delivering Online Tests
The first step in delivering online tests is to upload examinee lists and assign tests to be taken, as discussed in The Test Scheduler Tab. Next, you must purchase test credits (if you have not already), then email test codes to examinees or proctors.
Test Credits
Your FastTest workspace is not limited in number of items or tests created. Instead, the number of test sessions delivered online is limited.
- You must purchase test credits of sufficient number to cover the number of tests you will deliver to examinees.
- The number of credits you have left is shown to the Workspace Administrator when they first log in (above the list of users).
- To purchase credits, or if you have questions, please contact sales@assess.com.
Emailing Test Codes
If you have sufficient credits, the next step is to email test codes to the examinees or proctors. The test code, which is a unique code generated by FastTest for each examinee, is a special code that must be entered into the web browser to begin the test. It provides a flexible level of security by giving you the option of emailing to the examinee or proctor.
- If your test is low-stakes, and examinees can take the test anytime or anywhere without supervision, you can email the test codes to the examinee. They can then log in at their convenience.
- If the test is high-stakes, such as a professional certification, the test will likely be proctored, perhaps at a testing center, a training facility, or a company office.
- In this case, the test code can be sent to the proctor. The proctor will then log in to bring up the test, and the examinee will sit down to take the test.
- A test code can only be used once. If a test session has been completed by an examinee, they will not be able to log in again with the same test code. A new test code must be issued.
Taking a Test
To take a test, the test code must be entered at the Testing Login webpage. A link to this page will be in the email sent with the test code. A link is also on the FastTest homepage (https://www.fasttestweb.com), for any wayward examinees or proctors that find themselves there. If the test was configured to be delivered via the FastTEST WebLock secure browser, this URL must be used. The Testing Login page is shown in Figure 7.4.
Figure 7.4: Testing Login Page
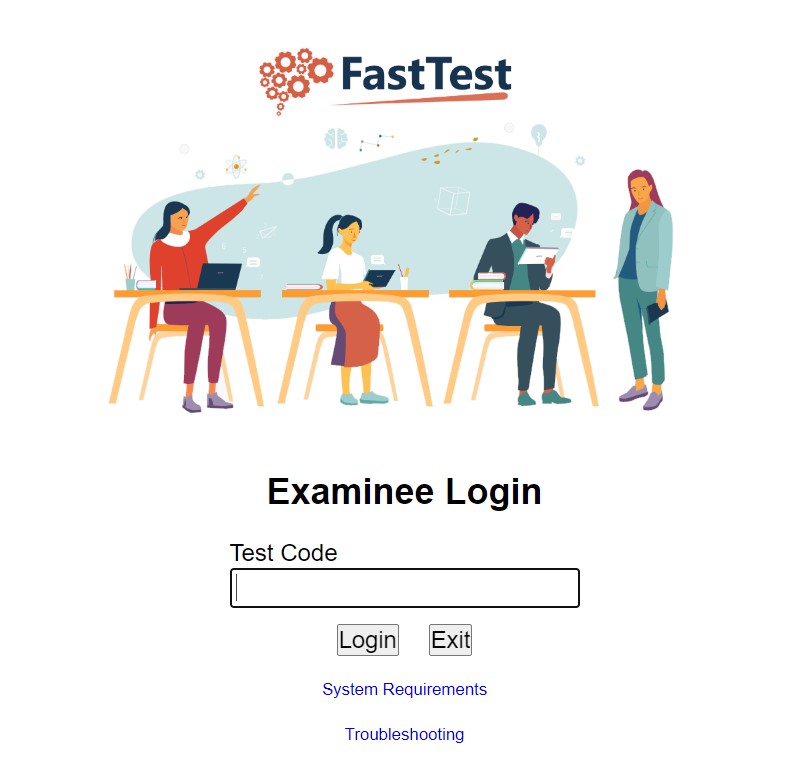
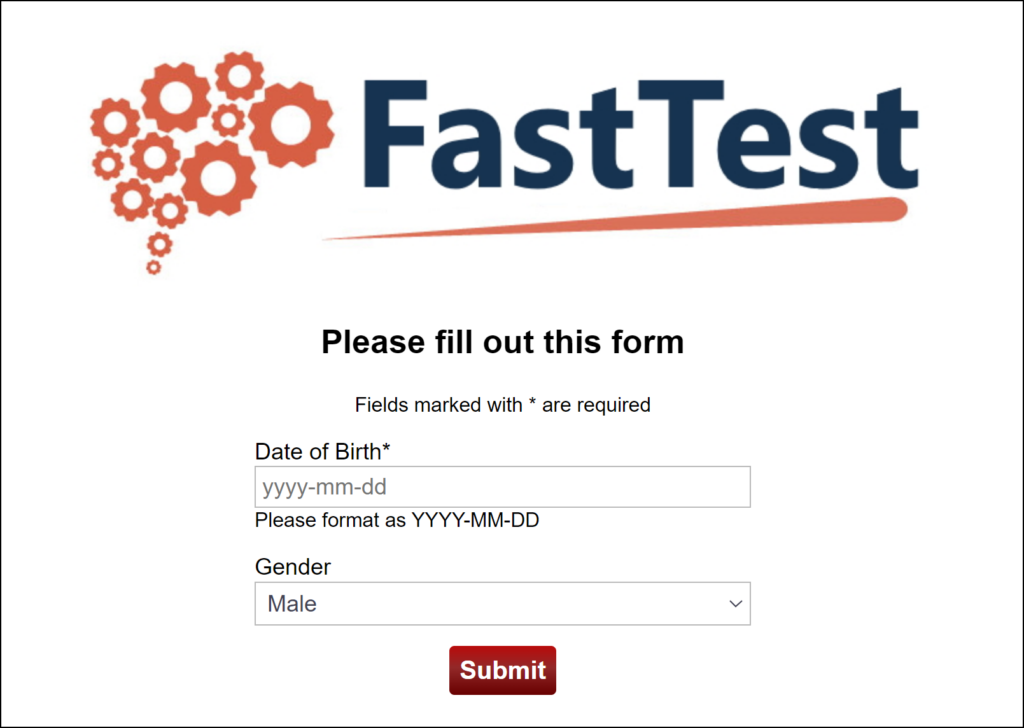
To log in, type (or copy-and-paste from the email) the test code into the text box provided, then click Login. If a demographics form was configured to be included before the test, it will be shown first, as in Figure 7.5 below.
Figure 7.5: Demographics Form Screen
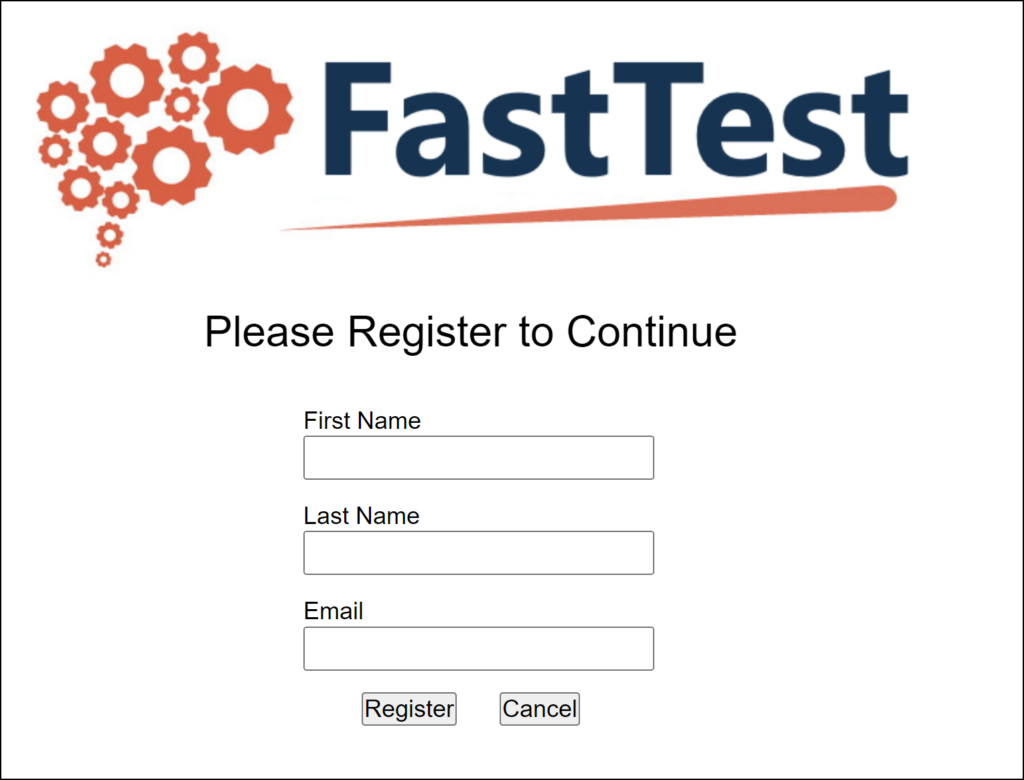
Alternatively, if the examinee was set to register at the test (i.e., a test code was generated up front, but no identifying information was associated with it), the examinee will be presented with the screen in Figure 7.6.
Figure 7.6: Registering at test
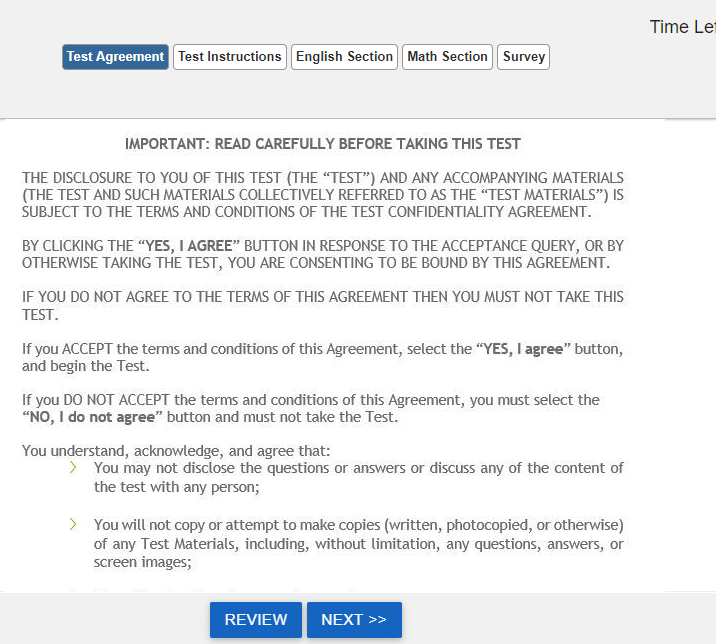
After logging in, you will be taken to the first item in the test (Figure 7.7). Normally, the first item (or several items) will be instructions to your examinee on what the test is and how to use the testing interface.
Figure 7.7: First Item in a Test
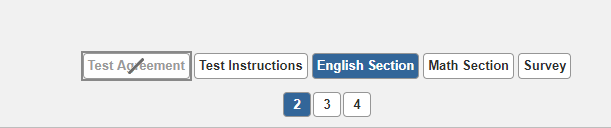
Examinees then navigate through the test using the Back and Next buttons on the bottom of the screen. Completed items will have a line drawn through the box in the Page Navigator (see items 1 and 2 in Figure 7.8). The current item will be highlighted.
Figure 7.8: Fifth Item in a Test
- The test can also be designed to be administered with an optional calculator, as well as an optional Comments box. (Chapter 4F: Test Sections)
- The latter is provided for examinees to comment on items, such as noting typographical errors, unclear directions, alternative arguments, or other things that might not have been noticed before this point.
- Both the calculator and the feedback dialogs are accessible via their respective links.
- Examinees can also mark items for review by clicking Review between the Back and Next buttons. These items will be noted in the Page Navigator, and can be returned to when the examinee reaches the end of the test.
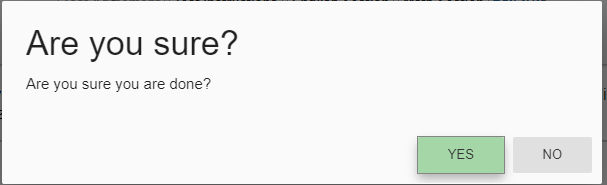
- After examinees have completed each item, they will be notified that all items have been completed, and told to review items (if allowed) before clicking a button at the bottom stating “I Am Done” (bottom of Figure 7.9).
- Note: the text on the submit button can be customized in the Test Options dialog.
Figure 7.9: End of a Test
When the answers are submitted, examinees are shown a screen telling them that the test has been completed (Figure 7.10). If you included any custom text as a completion message or immediate score report for the exam, it will also be shown here. Score reports can also be emailed to examinees, either automatically or manually, as discussed in the next section.
Figure 7.10: Test Results Screen
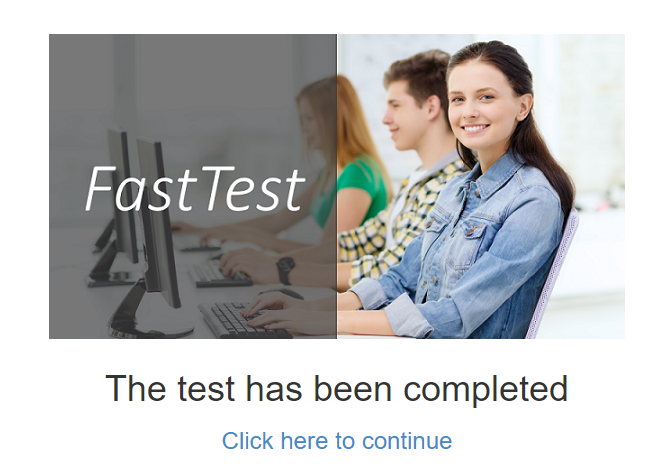
If a test session has components after the test, there will be a link on this screen to continue to the next component. If the test is not the last component in the test session and the test has no reason to show a test completed screen, the examinee will not be shown the test completed screen and will be taken directly to the next component. The following is a list of reasons that the test completed page would be shown:
- The test was the last component in the test session
- The test is configured to show results text immediately after the test is completed
- The test is configured to allow the examinee to review the solutions key after completing
- The test has an examinee deliverable (PDF) report attached to it
- The test is configured with a time limit and the examinee used up all of the time in the test
- The examinee is logging back in after completing the test session