The Test Scheduler Tab
- Tests from FastTest can be delivered via two methods: paper or online via test sessions.
- You can find details regarding paper-and-pencil test delivery and online test delivery by clicking the respective links.
- If you are delivering test sessions online, however, there is one step remaining before delivery: the list of examinees must be uploaded and the examinees must be assigned which test session to take.
- Additionally, if you are doing paper-and-pencil testing, you can use this tab to upload the examinee’s responses into the system to be scored.
- When uploading examinee responses from paper-and-pencil testing, there must be a test session that was created to reflect the paper exam.
Entering Examinees
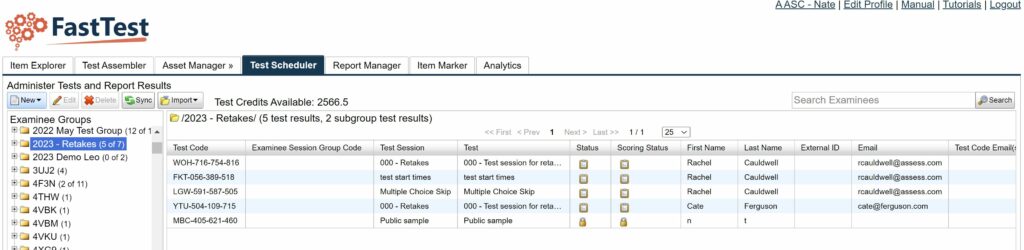
Just like tests in the Test Assembler tab, examinees in the Test Scheduler Tab are organized into groups, which are shown as a nesting tree of folders.
- For example, if you are a school district, each examinee (student) might be grouped by teacher, and teachers grouped by school
- Existing groups (and examinees) can be moved by drag-and-drop in this screen.
Figure 6.1: The Test Scheduler Tab
Creating a New Examinee Group
- To create a new examinee group, click New → New Examinee Group or right-click on an existing group and select New Examinee Group.
- Enter a name for the new group
- Option to include a description
- Administrator can assign access to the group using the Available To drop-down menu (shown below)
- Assigned users will have access to schedule examinees to the group, view examinee info, exam results, etc.
- Admin will always have access
- Can multi-select users
- Enter a name for the new group
After creating the necessary groups, the next step is to create examinee/test session pairs in the groups to which they belong. There are two ways to create an examinee: individually (manually), or by importing a list from a CSV file.
- To add a new examinee, select the appropriate group and click New → New Examinee button or right-click on the group and select New Examinee. This will bring up the New Examinee window (Figure 6.2).
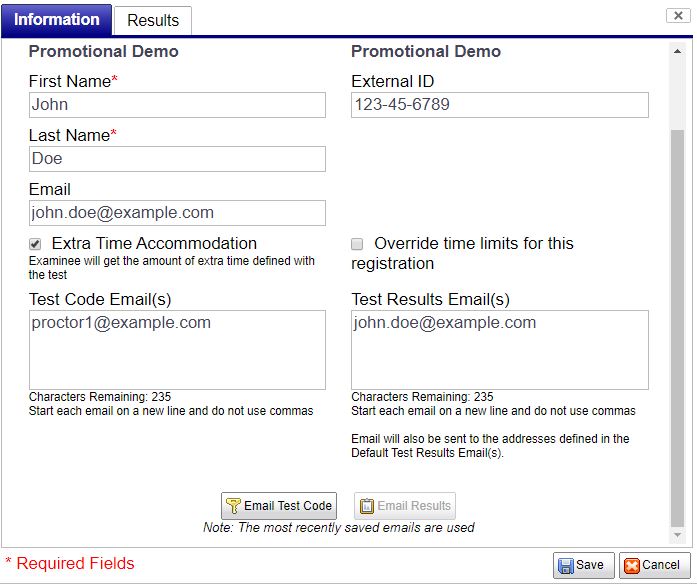
- To enter a single examinee, select the radio button Register Now.
- Simply type in an examinee’s name and assign them a protected test session to be taken (a test session must be protected to be assigned).
- An External ID can also be used to track a person uniquely within your organization.
- There is also an option to allow extra test time for examinees that require it.
- Optionally, you can include one or more email addresses for each of the test code email and the results email.
- Addresses for the test code email would generally be the proctor and addresses for results might be the examinee and/or teacher.
- The examinee can be registered (sent an email with the test code) immediately, or set to be registered at a later time after a certain number of tests have been administered to other examinees.
- By selecting the radio button Register At Test, multiple test codes can be created at once and given to examinees.
- When these examinees log in, they will then be asked for their name and email.
- Radio buttons for each can be seen in Figure 6.2.
Figure 6.2: New Examinee Dialog
However, it is much more efficient to upload multiple examinees at one time. To do this, click Import → Import Examinees. You will be presented with a new dialog (Figure 6.3).

Figure 6.3: Import Examinees Dialog
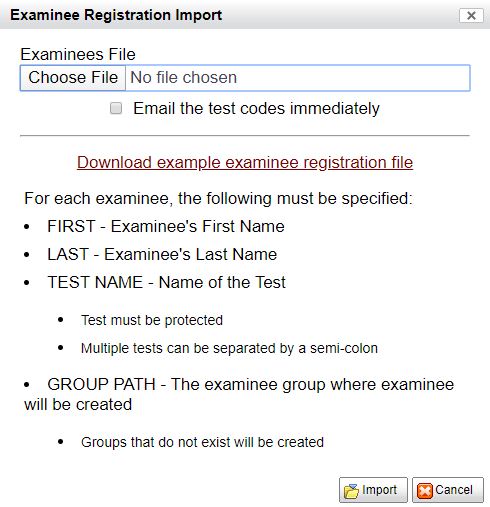
On the screen shown in 6.3 above, there is an option to download an example examinees template file (a .csv file). Open the example examinees template with a spreadsheet program (Excel), and complete the Examinees details: names, email addresses, the test session to be assigned, and the group to which the examinee belongs. Then return to FastTest and import the file. Optionally, you can have the test codes sent out immediately.
Figure 6.4 shows an example of this file. You will receive an e-mail when your import has completed informing you of any errors.
Note: The test must be protected (locked) before importing examinees.
Figure 6.4: Example CSV Import File – Examinees

A sample Examinee Import File is available at the foot of this document.
The RESULTS EMAIL column is used for sending test results and the CODE EMAIL column is used for sending the test code. Multiple results emails and/or test code emails can be specified for a single examinee and should be separated by a space.
Examinee Self Registration Through Group Test Codes
For tests where a test code is not generated beforehand, FastTest can generate a group test code that enables examinees to register themselves. A group test code is tied to a test, an examinee group, and registration parameters. The group test code can be configured on the Self Registration tab of the Examinee Group dialog, as shown below.
Figure 6.7: Edit Examinee Group Dialog – Self-Registration Tab
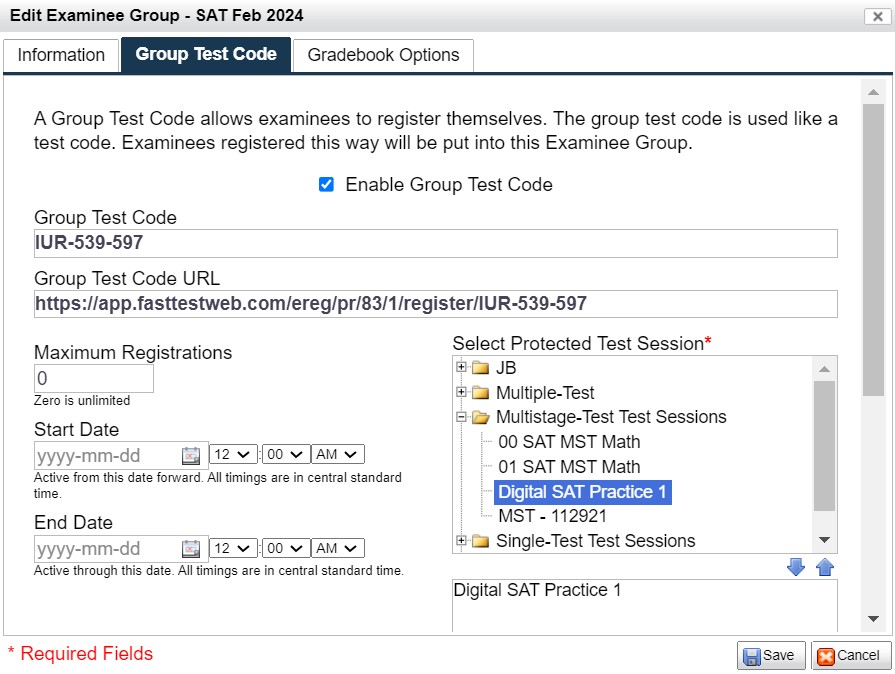
- A group test code looks like a normal test code, but it is three digits shorter.
- It can be used to log-in to the test in the same way an examinee would log-in with a normal test code.
- Alternatively, the examinee can start registration by using the URL directly.
- An organization might put the URL into a hyperlink and only show the hyperlink to the appropriate users.
- A group test code has a number of configurable options.
- The only required configuration is selecting a protected test session from the list on the right.
- An examinee that registers using the group test code will be stored in the examinee group that is being edited and will be given the selected test session.
- The Maximum Registrations field is provided to limit the number of test credits that can be used by this group test code.
- Start and End Dates provide a time frame in which this group test code is valid.
- When an examinee registers with a group test code, a normal test code is created, which can be used to log back into the test session if interrupted (e.g. a power or network failure).
- A couple of check boxes are provided to help a self-registered examinee recover in the event the test is interrupted.
- A screen can optionally be displayed to show the examinee the generated test code (to be written down).
- Additionally, the test code can be emailed directly to the examinee.
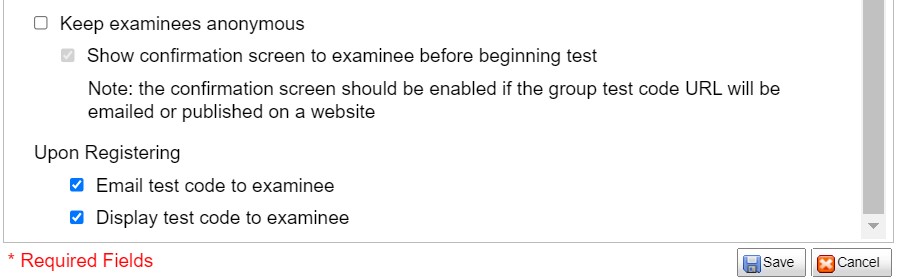
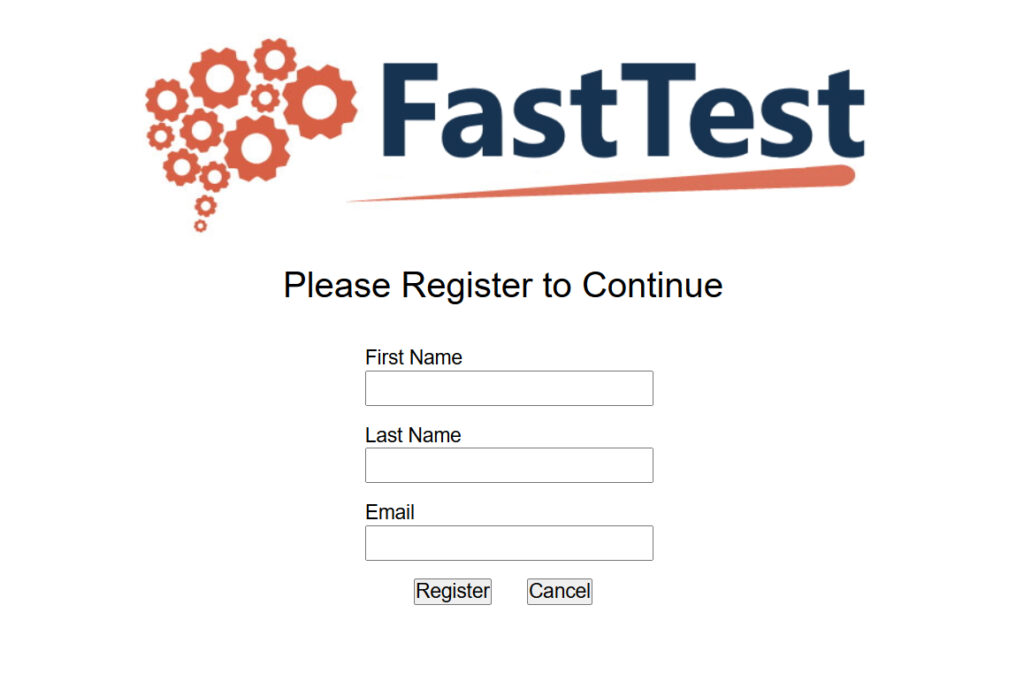
- Logging in with the group test code or navigating via the URL will bring the examinee to a screen similar to the one shown below.
- Note: Examinees registering using a group test code are required to enter their first name, last name, and email.
- After registering, the examinee will be forwarded to the test session.
- There is an option to keep the registered examinees anonymous.
Figure 6.8: Self Registration Screen
FastTest offers some built-in control for preventing examinees from registering multiple times using the same group test code.
- If an examinee starts a test using the group test code but does not finish it and tries to register again later, the system would email the test code from the original registration instead of creating a new one.
- If an examinee completes a test using a group test code and tries to register again using the same group test code, the examinee would need to confirm that he or she wants to retake the test.
- Examinees are matched if they use the same first name, last name, and email.