Information and Online Delivery Tabs
Once the items have been added to the item banks the test assembly can be done. Tests are assembled and managed in the Test Assembler tab (the second tab in FastTest). Begin by creating a new test in this tab, then returning to the Item Explorer tab to add items to the test.
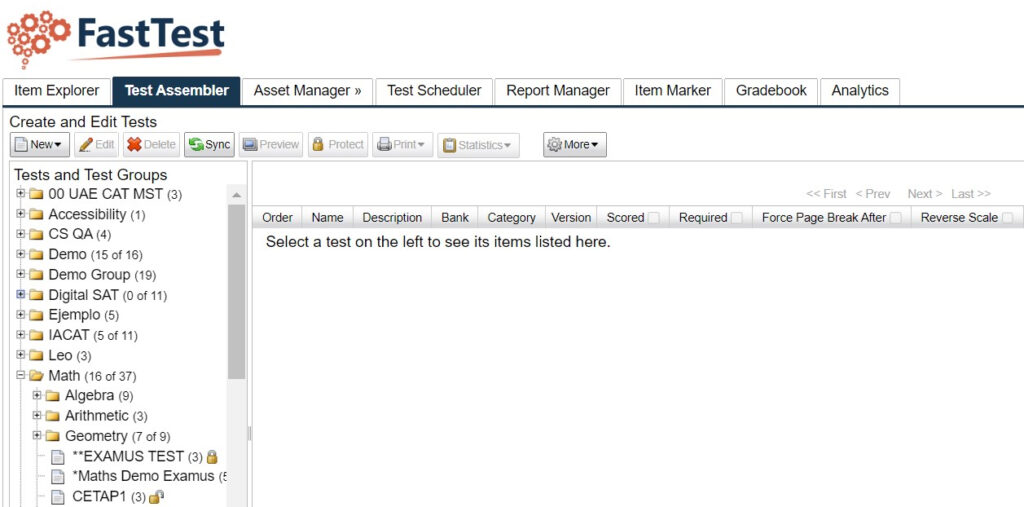
- Tests are organized into groups (folders).
- Before creating any tests, it is recommended that a test group is created into which the test(s) can be added / edited. Click on the New Button and then select New Group.
- To add a test to the Group either right-click on the group folder or select the group and click the New button, and select New Test.
- For example, if you are going to be creating vocabulary tests, create a group named “Vocabulary” as shown in Figure 4.1.
Figure 4.1: The Test Assembler Tab
Creating a New Test
When you create a new test, or edit an existing test, a new dialog window (the Edit Test Options dialog) will open with tabs for specifying important information about the test (Figure 4.2).
The Information Tab
Figure 4.2: New Test Dialog – Information Tab

- The first tab is the Information tab, which contains fields for basic descriptive information such as the test name and description.
- The “Answer Marker” refers to how you want your test answers (also known as options or alternatives) labeled when the test is delivered to examinees.
- You can have letters (ABCD) or numbers (1234), or no markers if delivered online (examinee clicks the answer text or clicks on a radio button or check box; see Online Delivery tab).
- This will not override what you have selected for the individual items, but will be applied if you indicated for each item that the marker would be specified at the test level.
- You can have letters (ABCD) or numbers (1234), or no markers if delivered online (examinee clicks the answer text or clicks on a radio button or check box; see Online Delivery tab).
- You can also set the test to being public or private. A private test can only be edited and used by the author.
- For example, the various teachers in a school can only use and modify their own tests and not everyone else’s tests.
- Tests can have custom fields which allows a workspace to add any additional fields that may be required.
- The example workspace above has one custom field called Grade Level.
Not all of the fields in the Edit Test Options dialog need to be specified immediately – you can return to complete the fields after adding items to your test.
The Online Delivery Tab
Figure 4.3: New Test Dialog – Online Delivery Tab
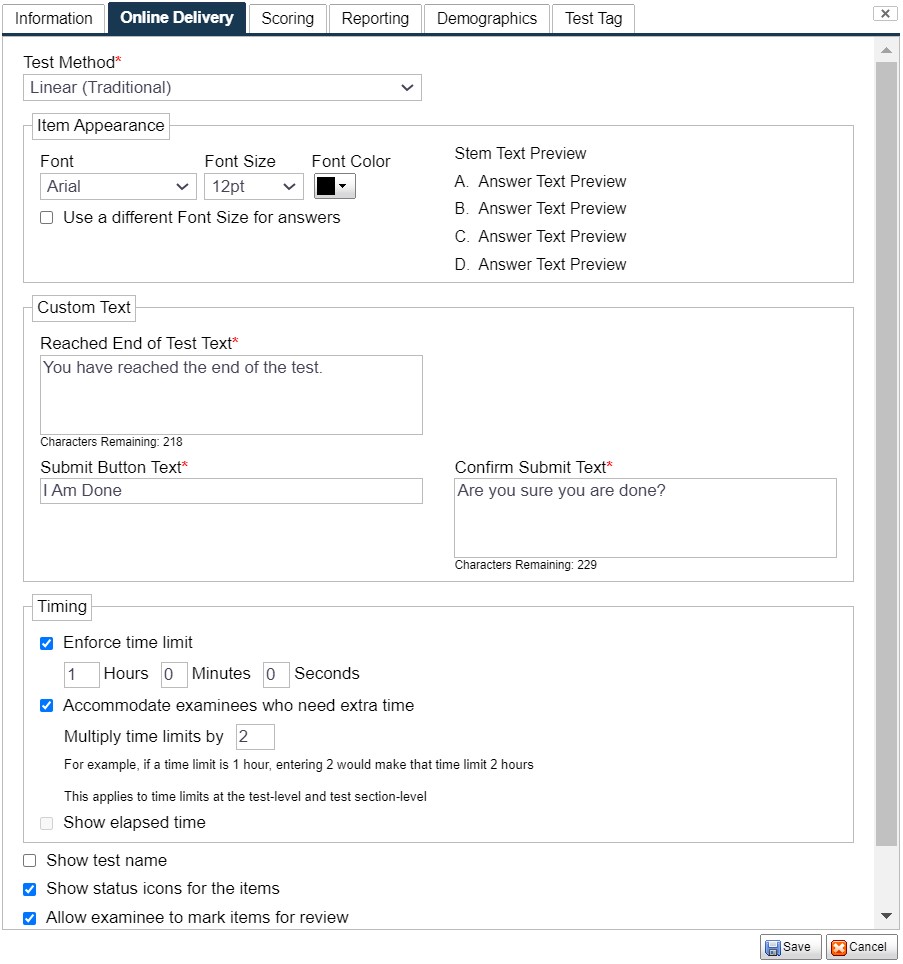
The Online Delivery tab (Figure 4.3) specifies information for online delivery of the test.
- Select the type of the test from test method drop down. Detailed explanation of each test method is discussed in the next sections.
- You can specify the text the displayed to the Examinee to Submit the Test (Submit Button Text) and the text of the confirmation message the Examinee agrees to before the Test is submitted (Confirm Submit Text).
- A time limit can be set here in minutes (leave at zero for an untimed test). The test will be submitted automatically once that time limit is met.
- Status icons used by an examinee for seeing the completion status of the questions or jumping to specific questions can be shown or hidden.
- The test can optionally be taken by examinees anonymously, meaning they do not need to provide their name.
There are various timing options available for the Test:

- A time limit can be set on the test.
- Enforce time Limit – select this checkbox to specify the Time for the Test.
- Note: When the time expires during a test, the examinee’s test will be automatically submitted, and any items left unanswered will be counted as skipped (including required items).
- FastTest supports extra time accommodation through the use of a multiplier.
- If a test has a time limit and allows for extra time accommodation, examinees that require extra time will have a new time limit equal to the old time limit times the multiplier.
- For example, if the time limit for a test is 1 hour and its multiplier is 2, examinees requiring additional time will have a time limit of 2 hours. The multiplier will also apply to any other time limits in the test (i.e., in a test section).
- If a test has a time limit and allows for extra time accommodation, examinees that require extra time will have a new time limit equal to the old time limit times the multiplier.
- If no time limit is set, the elapsed time can be shown to the examinee.
- Time that the examinee spends on a test will be recorded regardless of what options are used.
- Enforce time Limit – select this checkbox to specify the Time for the Test.

- Show test name – this will indicate the Name on the Test to the Examinee.
- Show status icons for the items – the status of each Item will be indicated on the screen to the Examinee.
- All examinee to mark items for review – an examinees to mark an item for Review and return to that item at any time during the test.
- Allow examinees to log out of the test – this will allow an examinee to logout out of a test and return to the test at a later time using the same test code. Note: the examinee must not submit the test as this will result in the examinee being unable to access the test at a later time.
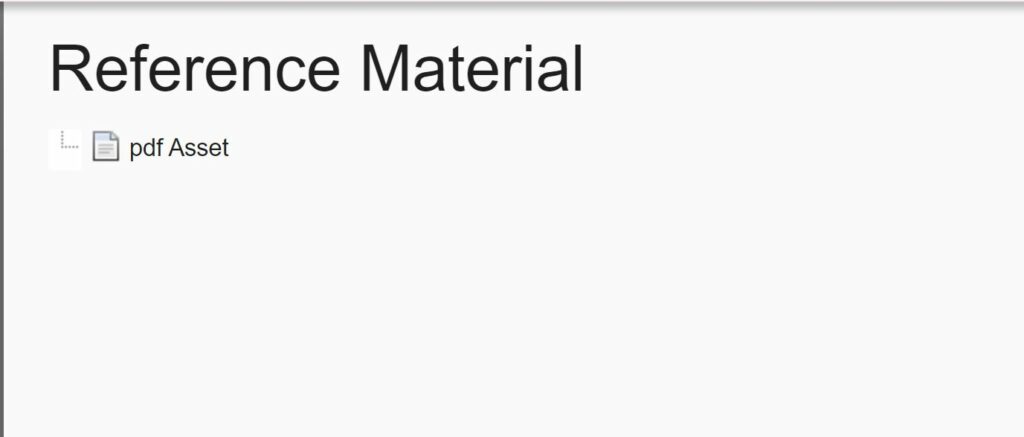
Enabling Access to Reference Materials
FastTest can provide a link for examinees to have access to reference material during an exam.
- Give examinee access to reference material during test – when checked the Select Asset Folder button and Reference Material Link Text text box will display:
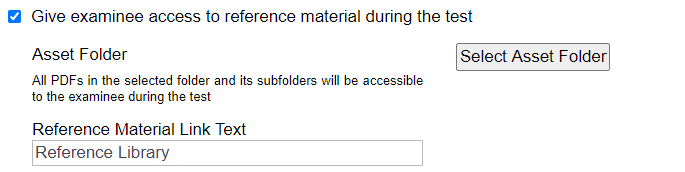
- Select which asset folder to provide access to
- Note: Only PDF assets within the chosen folder will be accessible to examinees
- Folder hierarchy will be maintained and any PDFs located in subfolders will be available to examinees
- Option to select subfolder only
- Option to individualize the reference material link text
- Defaults to ‘Reference Library’
- Click Save
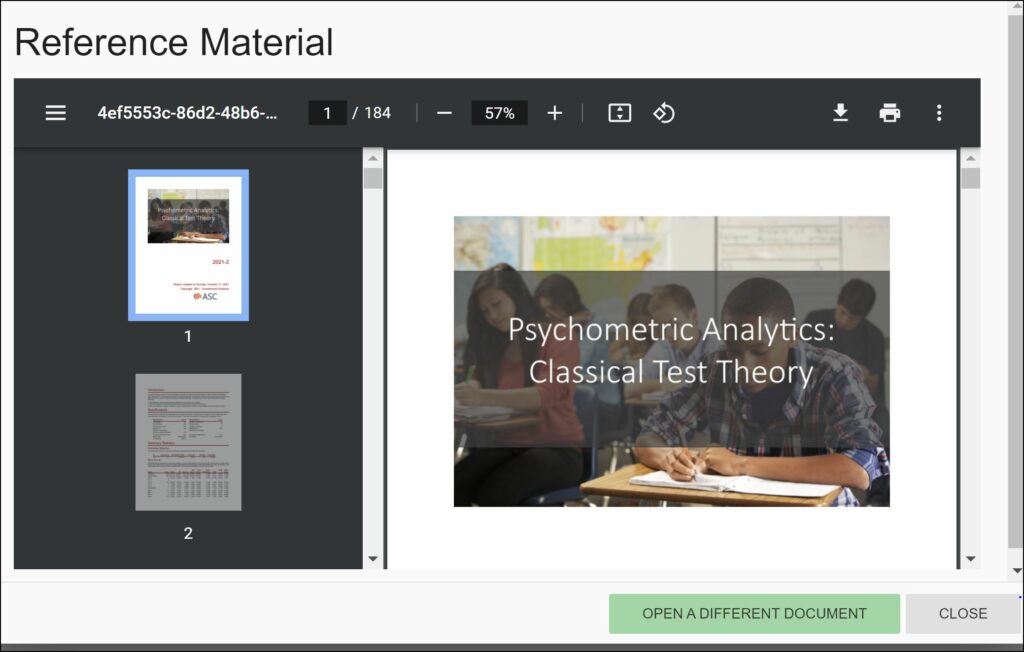
- During an exam, the Reference Library link will be located above the item navigation

- Clicking on the link will open a new window with a list of the PDF assets from the chosen asset folder
- Examinees can click on the the file name to open the document
- To return to the list, click on Open a Different Document located in the upper right corner
- Click on the X to close the reference material window