Appendix J – Quick Start Guide for All Users
Welcome to FastTest, the world’s leading online testing and item banking system. This Quick Start Guide for All Users provides a brief overview of how to use the system effectively. There are two sections: Administrators and General Users. A complete manual with step-by-step details is always available by using the Manual option in the upper-right of your screen (see figures below). For any questions not covered in the manual, please contact support@assess.com.
Part 2: All Users
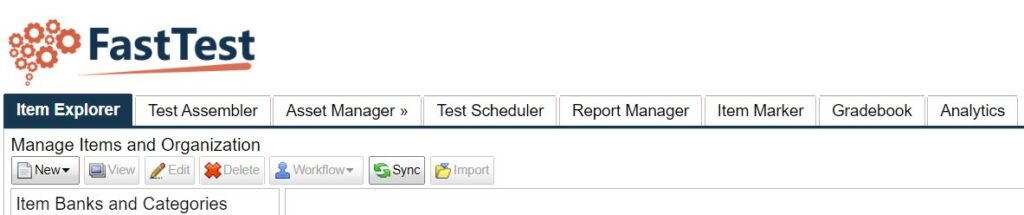
Once inside the workspace, there are five tabs to navigate through FastTest (Figure 2.1). They represent the five major stages of the test development cycle. These are:

→ Item Explorer: Authoring and reviewing items, storing metadata
→ Test Assembler: Assembling items into test forms and setting test specifications
→ Asset Manager: Managing audio, video, image, and reading passage files
→ Test Scheduler: Managing examinees and scheduling them for tests
→ Report Manager: Reporting on important aspects of the previous tabs.
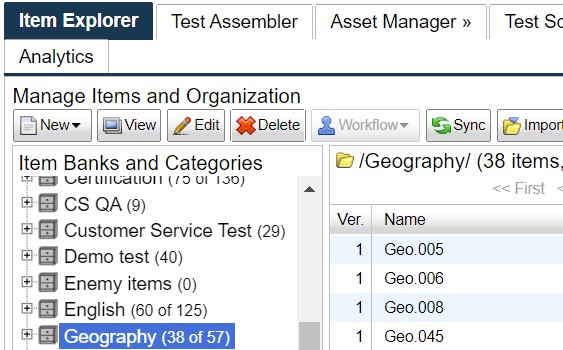
The Item Explorer tab is where items (questions) are created (or imported) and organized. FastTest has a folder tree hierarchy design (similar to the Windows Explorer hierarchy) where an item bank is created, and then inside that bank are nested categories and subcategories, each containing any number of items.
Figure 2.1: Item Explorer Tab
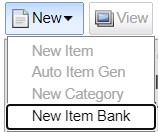
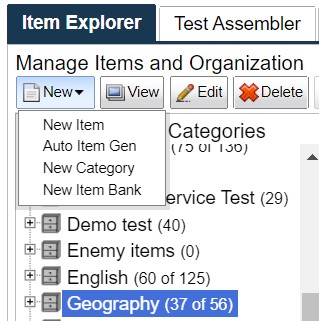
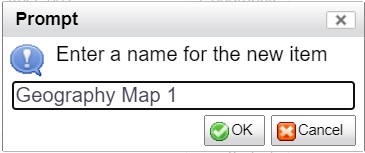
To start, click on the New button to create an item bank. After the item bank is created you can create categories within the bank, and then create items. All items are able to be dragged and dropped into other folders. You may also duplicate an item to have it appear in two separate folders within a bank.
Creating an Item
When an item is created manually, a new window with six tabs will be displayed, as shown in Figure 2.2. Items can also be imported en masse by using the Import button at the top of the page (Figure 2.3).
To create an item:
- Enter your question in the top box with the answers following, each in a separate box
- Enter the answer weight in the small box to the left of the answer letters.
- e.g. 0 for incorrect and 1 for correct
- Click the Show Rationale box to display a second box under each answer – this can be used to explain answers to item reviewers or examinees in a report.
- To create another item without going back to the category level, click New
- Additional options to preview the item, comment on the item, save the item, and either go to a previous item or the next item within the same category of the bank.
Figure 2.2: The Content Tab
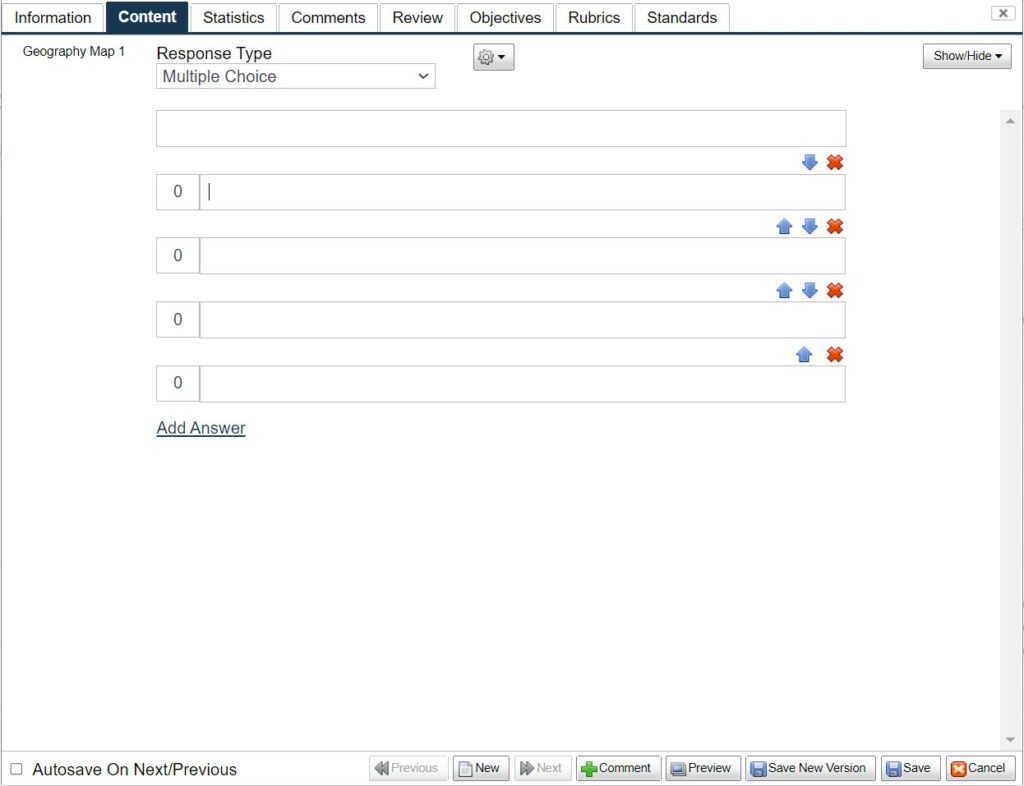
Figure 2.3: Importing Items en Masse
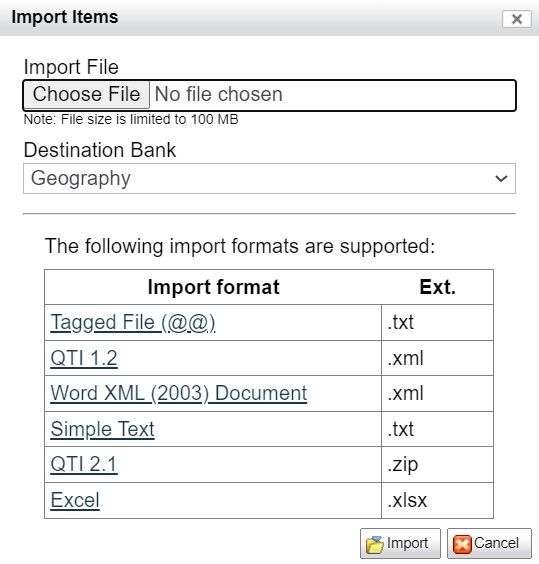
Adding Assets to an Item
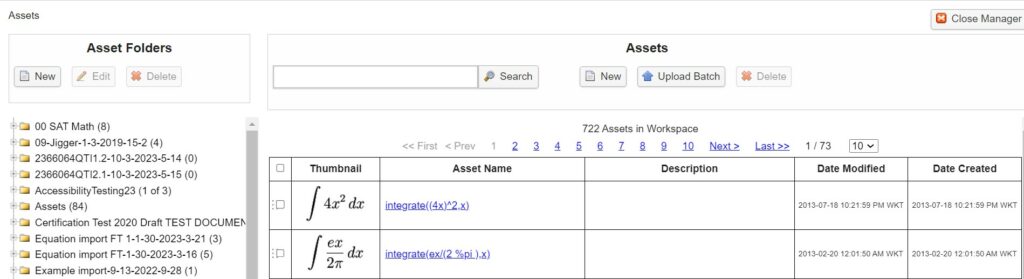
Within the item editor dialog, click on Show Toolbar, and then click on (Figure 2.4) to open the Asset Manager window (Figure 2.5).
- If the desired asset has previously been uploaded, you can search for it by name, or by searching the folders.
- A new asset can also be uploaded. To insert the asset, check the box and click Add.
- You can now close the Asset Manager window. See the manual for more information on the Asset Manager.
Figure 2.4: Adding Assets to Items
Figure 2.5: Asset Manager
The Information tab (Figure 2.6) shows the details of each item, including a list of tests in which the item has been used, the item status (New, Review, Review 2, Active, or Retired), Author, Source, Keywords, and date it was created and last updated. This is also where content area can be assigned if the workspace is utilizing a content hierarchy.
Figure 2.6: The Information Tab
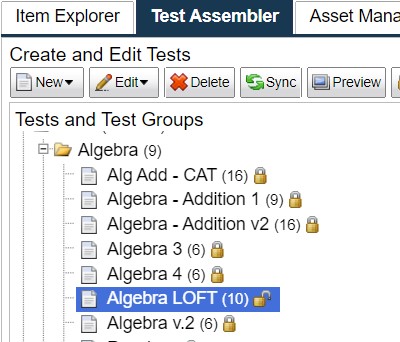
Creating a Test
The Test Assembler tab is where a test can be assembled from previously entered items.
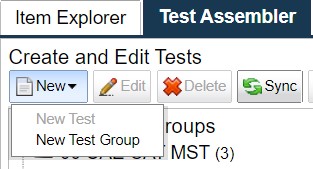
To create a test in the Test Assembler tab (Figure 2.7):
1. Select New at the top left of the page and select New Test Group (you must have a test group before creating any tests)
2. Inside the new test group either right click or select New at the top of the page for a new
test.
Figure 2.7: Creating a New Test Group and Test
The test options box (Figure 2.8) will appear. Four tabs will guide you through your test options, these are Information (regarding the test as a whole), Online Delivery, Scoring, and Results Reporting.
- These tabs can also be accessed and adjusted on an unprotected test by right-clicking on a test and selecting Edit Test Options.
- An option to View Test Options is available by right-clicking on a protected test
Figure 2.8: The Test Options Box
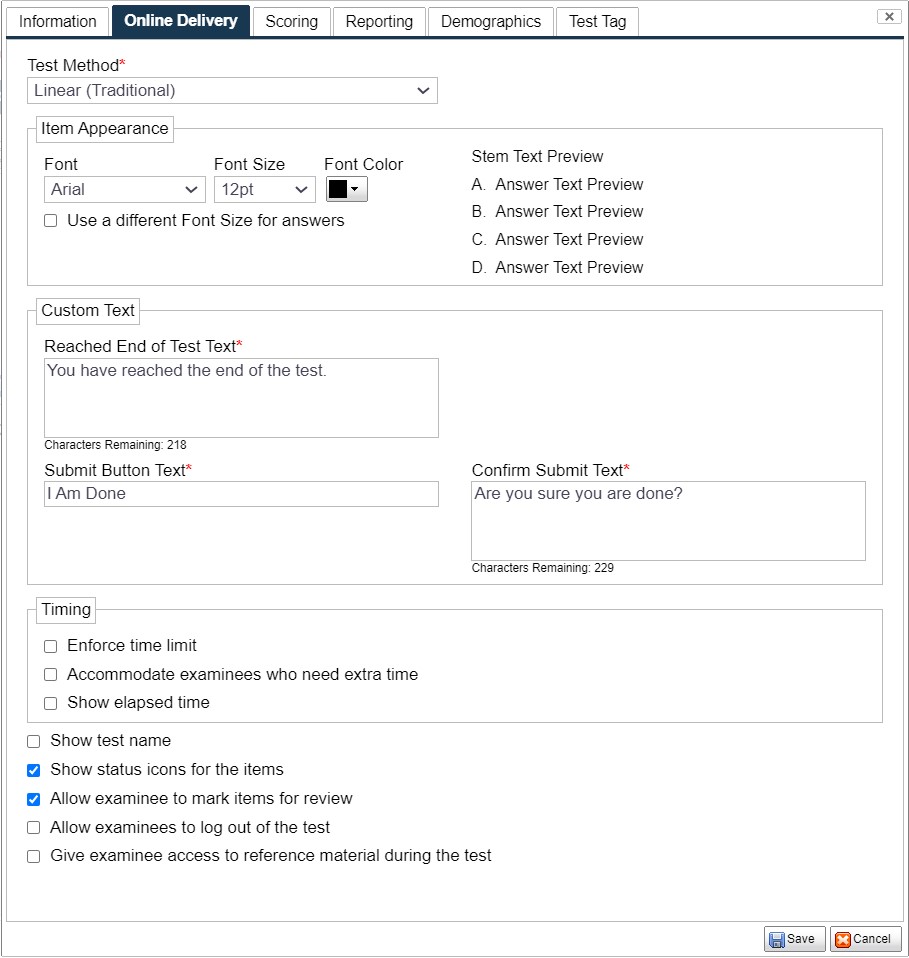
The Online Delivery tab allows the test to be customized by maintaining or randomizing item order and/or answer order.
- A time limit (duration of the test) can be specified, and customization of the Complete Button Text message, Test Submit Message and the Test Time Expire message, as well as several other practical aspects of test delivery.
- To change the messages, simply click inside the box, delete its contents and start typing. Figure 2.9 shows the default settings.
Figure 2.9: The Online Delivery Tab
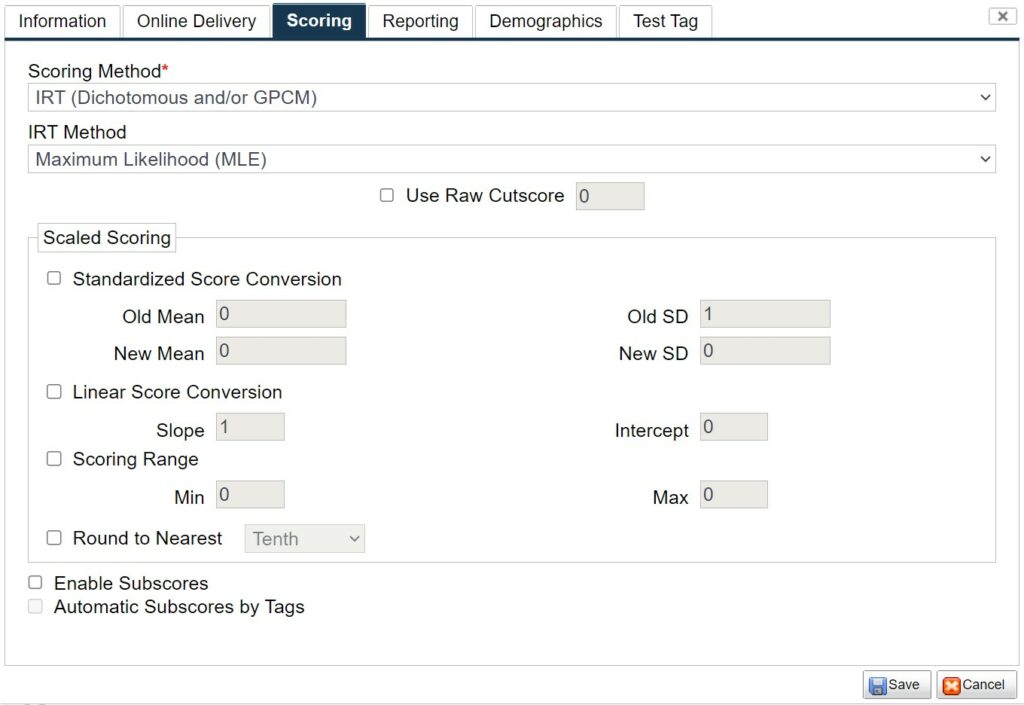
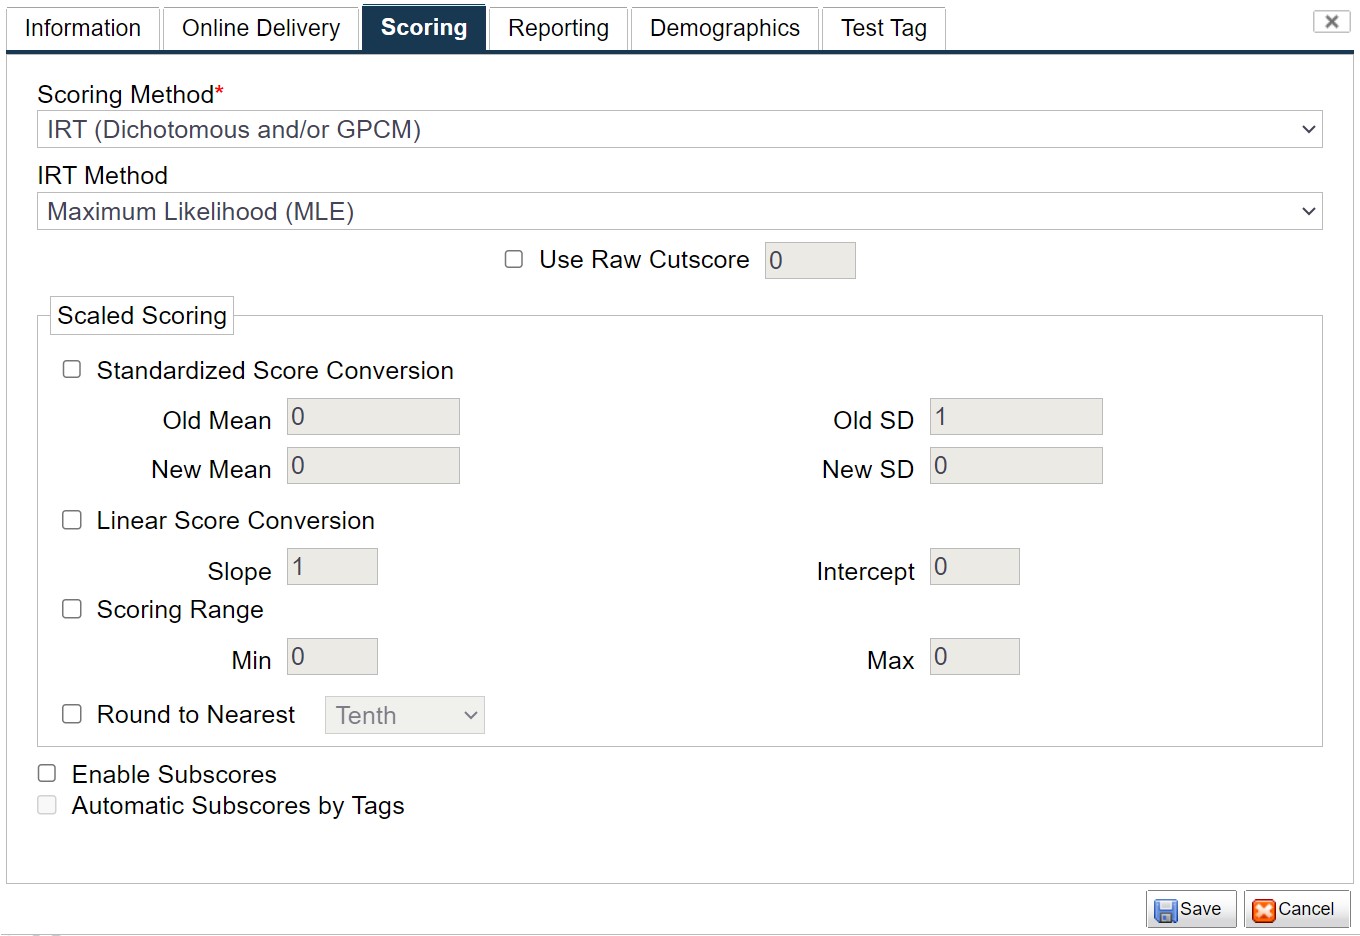
The Scoring tab is shown in Figure 2.10. Use this tab for specifying how the entire test will be scored, including scaled scoring. Note that if IRT scoring is to be used, IRT item parameters will be required for all items in the test.
Figure 2.10: The Scoring Tab
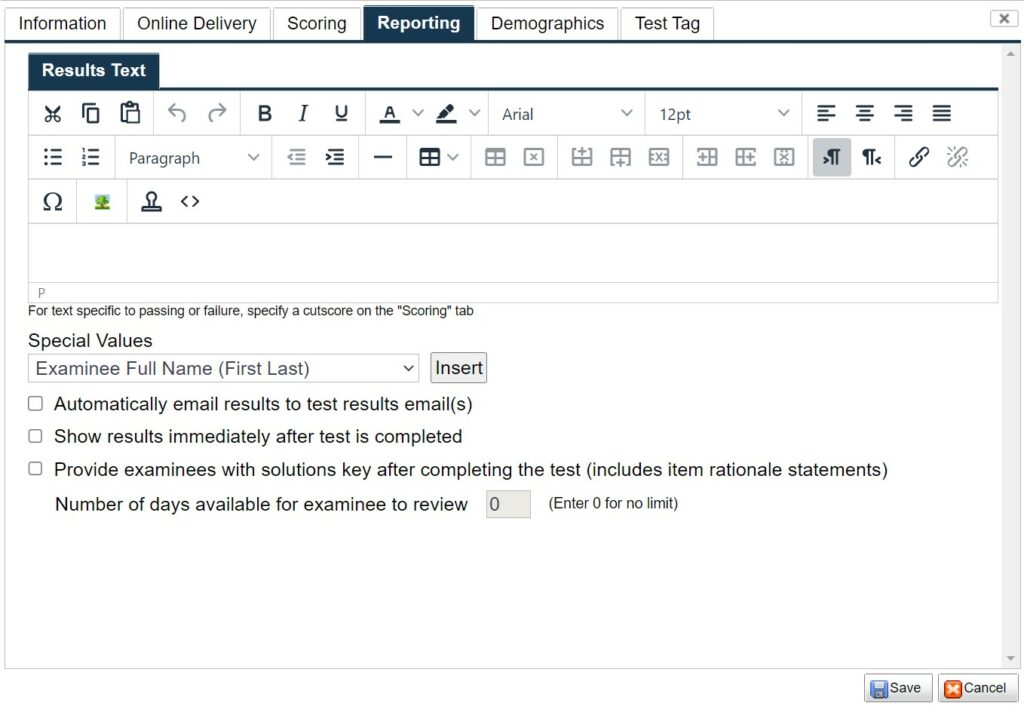
The Reporting Tab (Figure 2.11) allows for customization of tests results messages sent to examinees or instructors or other test schedulers.
- Choose from the dropdown Special Values, or write sentences and input variables from the drop-down list for customization.
- Option for the results to automatically be emailed to the examinee, and/or shown the results on the computer immediately after the test is completed.
- Option to provide the examinee with a solutions key upon completion of the test for a specified number of days.
Figure 2.11: The Reporting Tab
Adding Items to Your Test
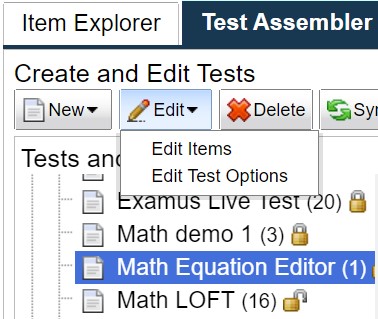
Once you have selected all your options for a test, select Save, then select the Edit button, then Edit Items (Figure 2.12). A bar will appear at the top of the screen. This indicates that you are in Test Editing Mode. The information in the bar is automatically updated to reflect the attributes of the test you are editing.
Figure 2.12: Editing Items
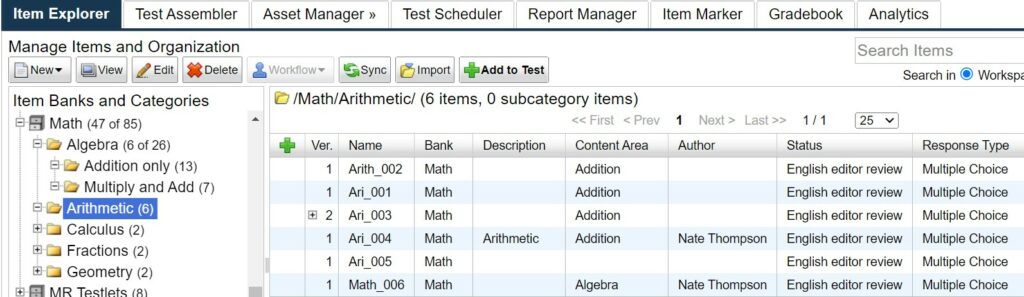
Navigate to the Item Explorer tab where you can select the questions to be in the test. To add a question, click the Add to test button (green plus sign); items selected will have a plus sign next to them (Figure 2.13)
Figure 2.13: Selecting Items

When you have finished adding items, go back to the Test Assembler and click Save test. To preview the test, simply click on the test and select Preview.
Test Sections
Create test sections, if desired, in Test Editing Mode by selecting New Test Section. Items can be dragged between and within test sections.
To Edit Test Section Options, click the pencil next to the Test Section Name. A number of test section options are available
via a number of tabs.
Save to apply all Test Section Options.
Test Session Options
To manage a test session’s options, select More > Test Session Builder in the Test Assembler.
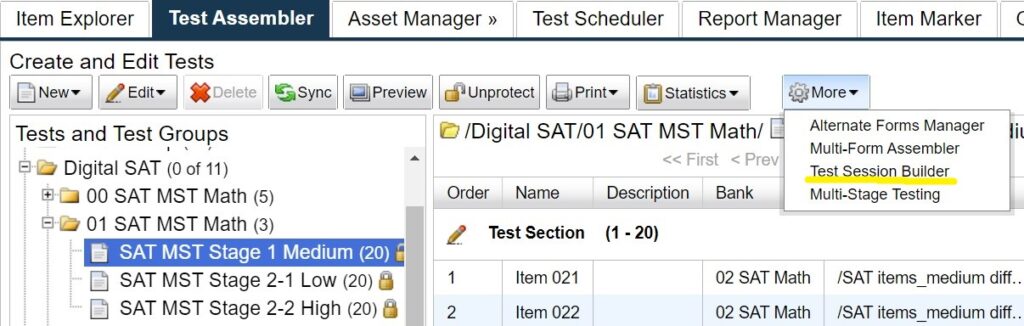
A new tab will open. Select to your test’s name.
- A number of test session options are available via a number of tabs.
- Please see Chapter 4 in the FastTest manual for detailed information on Test Sessions.

Protecting a Test
After previewing the test and making any final changes, under the Test Assembler tab select Protect test to be able to schedule the test.
- Note: once a test is protected, it cannot be changed, nor can any items in the test be changed, except by the Workspace Administrator.
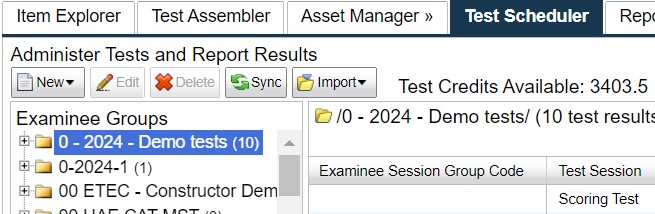
Scheduling Tests
Protected tests can be scheduled for electronic delivery using the Test Scheduler tab (Figure 2.14)
Figure 2.14: The Test Scheduler Tab
To schedule examinees:
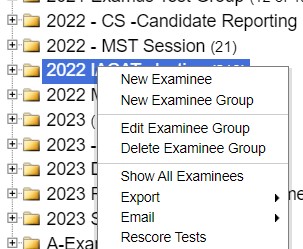
1. Click on the New button (top left of page), select New examinee group, and fill in the information (you must have a group before adding any examinees).
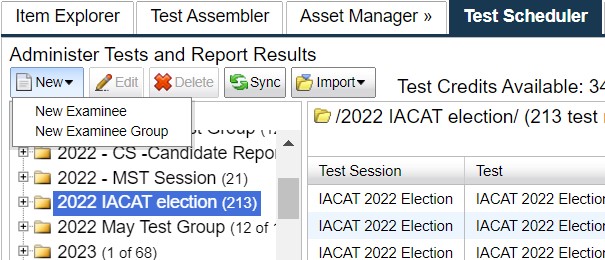
2. Either right click on the examinee group or select the New button for a new examinee.
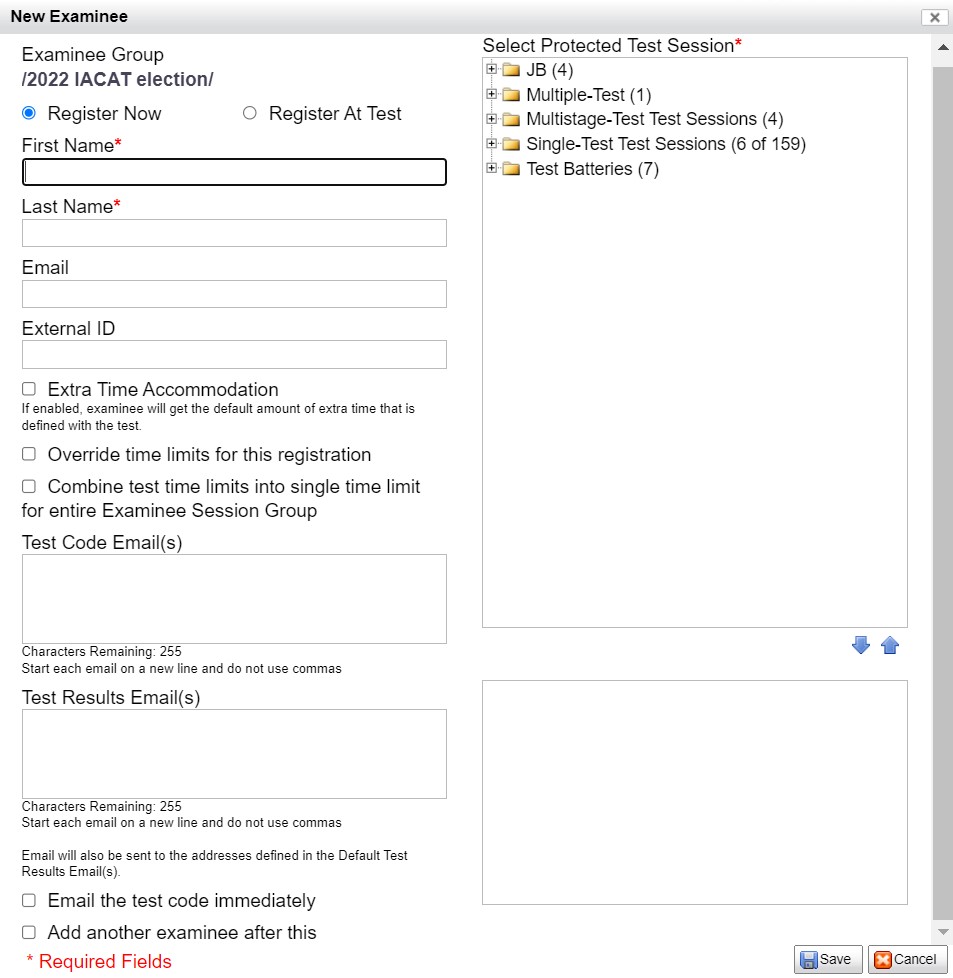
3. Select a protected test and fill in the information in Figure 2.15; this can be done manually or via importing from a spreadsheet.
4. For examinees to register at the test site (e.g., you do not have their information or are not sure who will be at what test) select Register at Test and a key without a name will be available and updated once the examinee registers themselves.
5. By selecting the “email immediately” message at the bottom, the test access key will be sent immediately in an email message to the examinee.
Figure 2.15: The New Examinee Tab
After examinees complete their tests, their results will be listed on the Test Scheduler page shown in Figure 2.16.
Figure 2.16: Examinee Summary

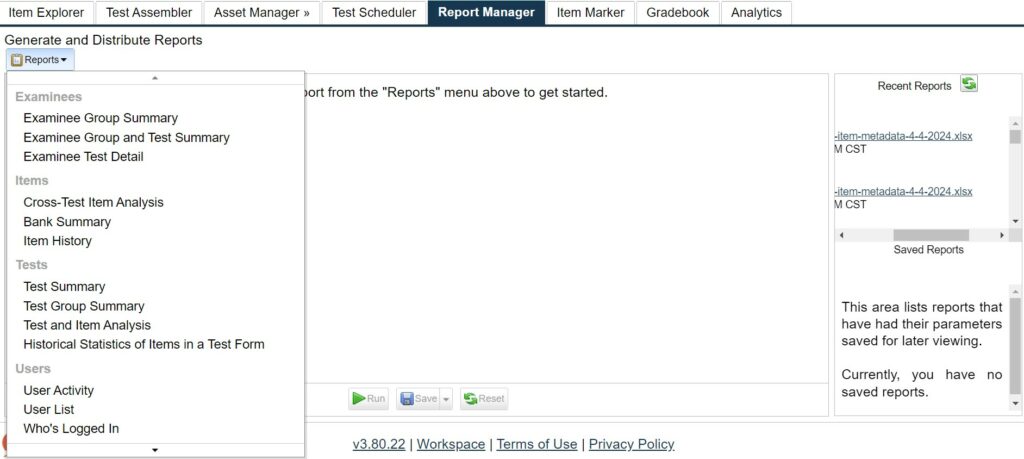
Reports
The Report Manager tab (Figure 2.17) allows you to utilize any of the reports FastTest currently has to offer. Need a report that you do not see here? Contact FastTest (support@assess.com) to create a custom report.
Figure 2.17: The Report Manager Tab
Please visit the manual (via the link at the bottom and top of each workspace) or the tutorials, and/or contact FastTest (support@assess.com) if you a have any questions or concerns regarding the software or would like an online demonstration.